- February 17, 2025
-
-
Loading

Loading

Flower photography offers an endless array of color, shape and textures to explore and is an ideal way to learn composition, lighting and the capabilities of your camera and lenses. It also allows you to slow down, think and concentrate — the flowers aren’t going anywhere soon — and can be practiced at home, in your backyard or on location.
You can start with simple snapshots and progress to complex macro setups with multiple flashes. We’ll explore more about macro flower photography in future articles, but for now, let’s get up and running with the basics.
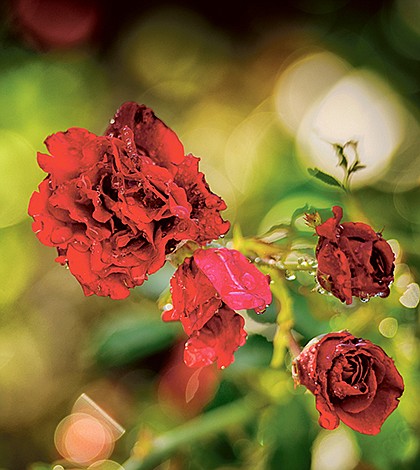
Use your longest lens and zoom in as far as you can. Combined with a wide aperture (low f-stop number), you’ll be able to throw the background out of focus to avoid clutter. So set your camera to Aperture Priority (A-mode) and the lowest f-stop you can on your lens.
Think about your framing — usually your subject looks better off-center — and carefully choose the part of the scene on which to focus. It can help to use a tripod to force yourself to slow down and think about composition — and using live view with a flip-out screen allows you to put the camera low to the ground and still be able to use it without being a contortionist!
Harsh lighting can be too contrasty — flowers often look best in a wash of soft light. So choose early morning, an overcast day, a shady area or use a diffusor to soften the overhead Florida sun. If your flowers are in a vase or pot, then use window light for that perfect lighting.
ABOUT THE COLUMNIST
Photographer and cinematographer David Haynes has traveled the world capturing iconic images for organizations such as National Geographic and the BBC. His work can be seen in magazines, newspapers, on book covers and in private collections.
Now he’s sharing his skills with us in a new “cut and keep” column on everyday photography.